INTRODUCTION:
If your mornings are a frantic blur of alarms, emails, and trying to beat traffic, then prepping your iced coffee ahead of time might be your next best life hack. Imagine having three perfectly chilled servings of cold brew ready in your fridge—saving you precious minutes and delivering that bold, smooth coffee taste you crave. This blog post breaks down exactly how to meal prep iced coffee for three days in just five minutes. Whether you’re a student, professional, or parent on the go, this method is fast, flavorful, and seriously satisfying.
In this guide, you’ll learn how to prep cold brew in bulk, how to flavor and store it like a pro, and why this meal prep method is better than daily brewing. Plus, you’ll get a bullet-proof recipe, pro tips, and creative flavor options that’ll keep your iced coffee game strong all week long.

1. Why prep iced coffee ahead of time?
1.1 Save time and skip the chaos
Meal prepping iced coffee helps eliminate the need to brew fresh every morning. You’ll cut out waiting time, reduce the mess, and still get your caffeine fix.
- No need to clean equipment daily
- Grab-and-go in the morning
- Streamline your morning routine
It’s like having your favorite coffee shop in your fridge—without the wait or the cost.
1.2 Maximize freshness and flavor
Cold brew, when stored properly, holds its flavor and quality for up to a week. When you batch-prep iced coffee:
- You lock in a consistent flavor
- The coffee doesn’t oxidize or taste stale
- You reduce the risk of bitter brews
Pro tip: Use an airtight glass bottle or mason jar to preserve its depth and smoothness.
1.3 Avoid unnecessary spending
Daily iced coffee runs add up. By prepping your coffee at home, you can save serious money.
- One batch = up to 3 café-style drinks
- Use premium beans without premium prices
- Avoid impulse add-ons like pastries or syrups
Prepping your cold brew means saving your dollars and getting your exact flavor every time.

2. How to brew iced coffee in bulk
2.1 Choose the right coffee beans
Go for medium to dark roast whole beans. They produce a rich, chocolatey cold brew.
- Colombian, Sumatra, or Guatemalan beans work best
- Grind coarsely (like sea salt texture)
- Avoid flavored pre-ground coffee for better control
Fresh-ground beans are ideal because they release more natural oils and nuanced flavor.
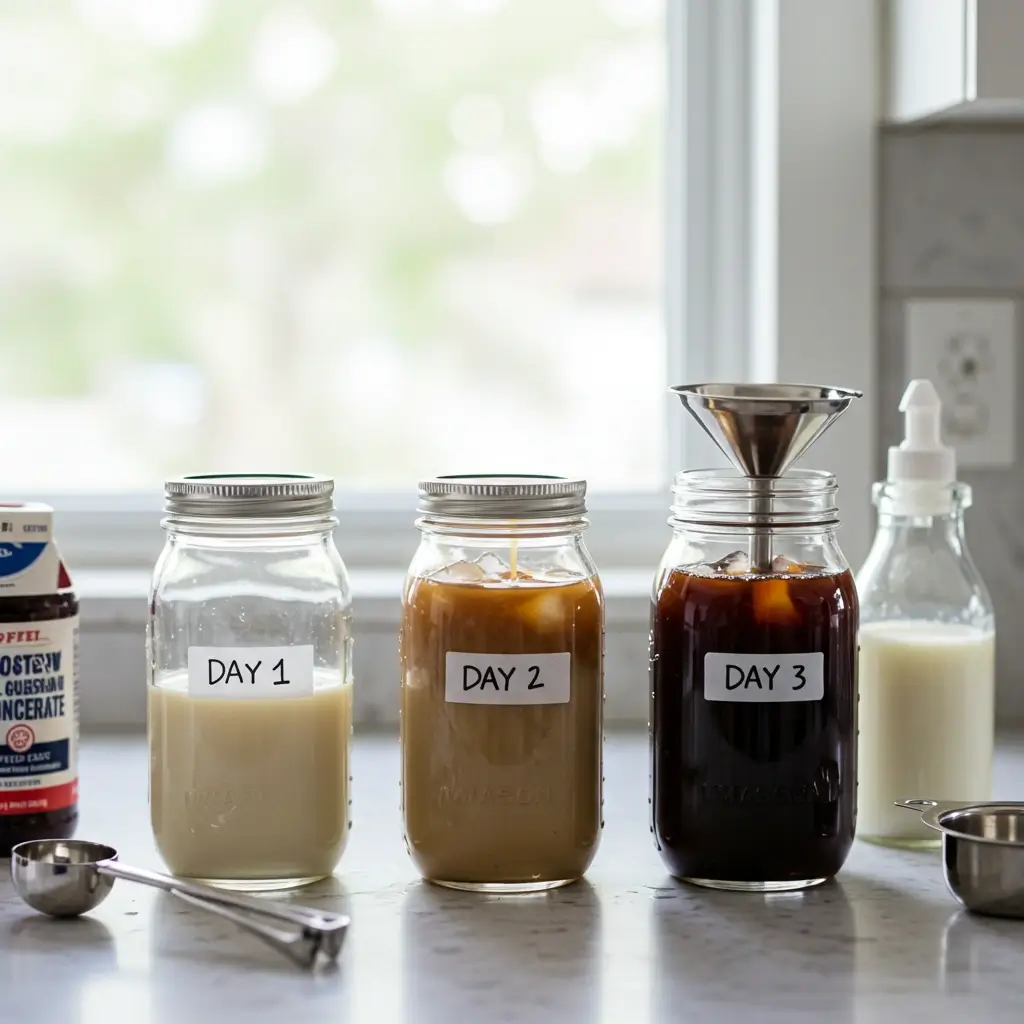
2.2 Use the correct ratio
Here’s the ideal cold brew concentrate recipe for 3 servings:
Ingredients:
- 1 cup coarsely ground coffee
- 3 cups filtered cold water
Instructions:
- Add ground coffee to a large mason jar or pitcher.
- Pour cold, filtered water over the coffee grounds.
- Stir well, seal, and steep for 12–18 hours in the fridge.
- Strain using a cheesecloth or fine mesh sieve.
- Store concentrate in an airtight container.
This makes 3 servings of cold brew concentrate. When serving, dilute 1:1 with water, milk, or ice depending on your preference.
2.3 Store it like a pro
Cold brew lasts 5–7 days when refrigerated properly.
- Use glass containers to avoid taste contamination
- Label your container with the date
- Keep it at the back of the fridge (cooler, more stable temp)
Avoid plastic jugs or open containers. The better the storage, the longer your cold brew stays smooth.
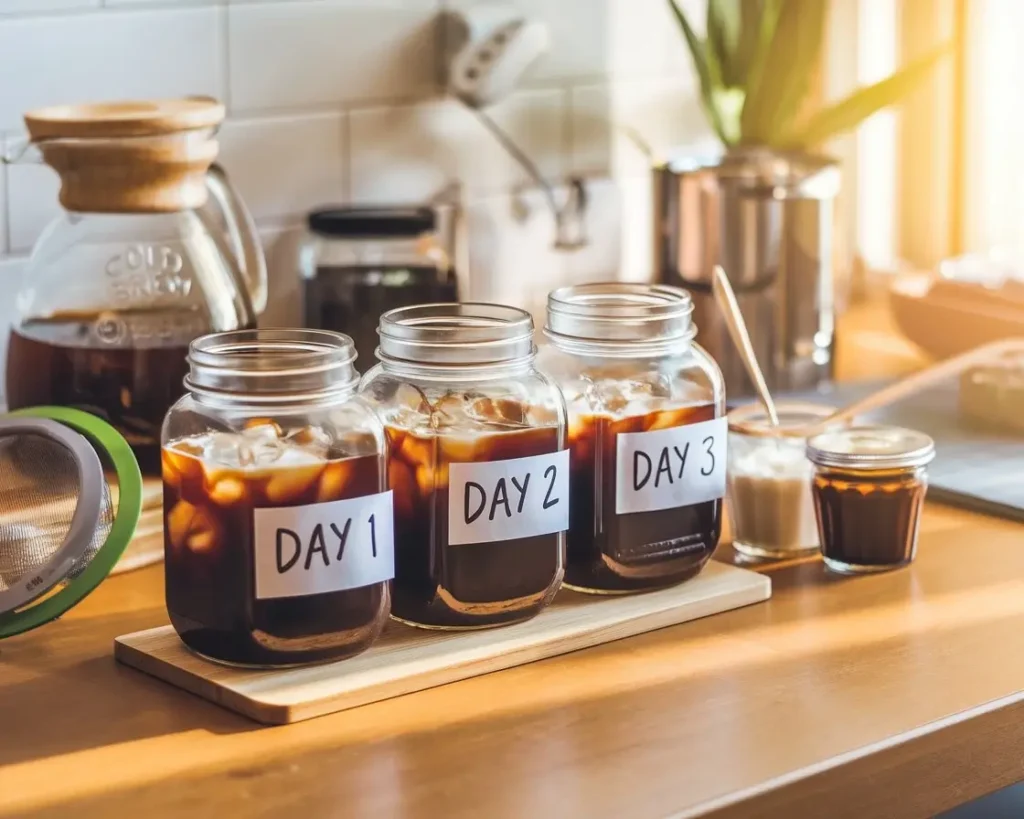
3. How to build your 3-day iced coffee stash
3.1 Portion it out in advance
Once you’ve made the cold brew concentrate, it’s time to portion it into daily servings.
Here’s how to do it:
- Use three 12 oz. mason jars or reusable cold brew bottles
- Add 1 part cold brew concentrate
- Add 1 part milk, alt milk, or cold water
- Add ice and your favorite flavorings
Label each one: Monday, Tuesday, Wednesday. Done!
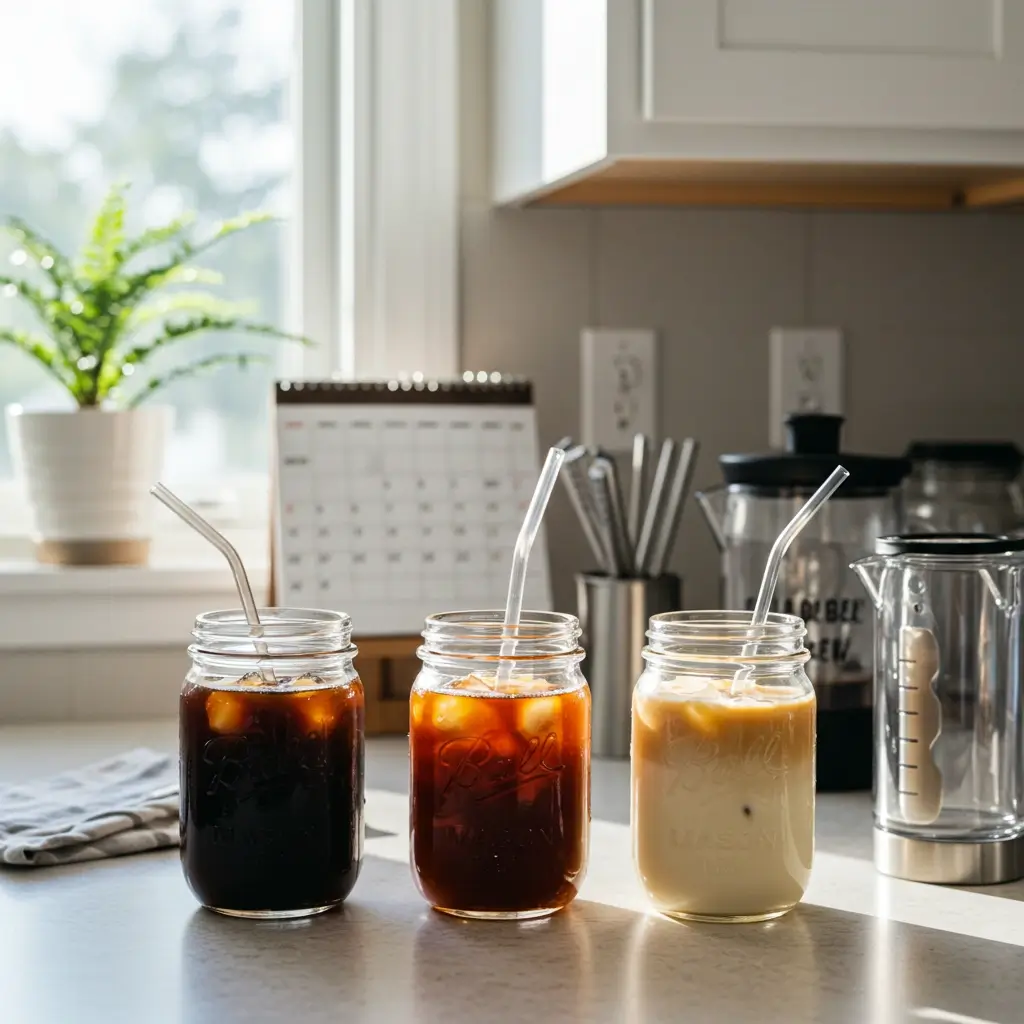
3.2 Customize each jar with flavors
Make each day feel special with these flavor add-ins:
- Monday: Vanilla extract + almond milk
- Tuesday: Caramel syrup + oat milk
- Wednesday: Cinnamon + honey + whole milk
Flavor ideas to try:
- Hazelnut extract
- Coconut milk + maple syrup
- Mocha swirl (cocoa powder + sugar)
Use flavor drops, plant-based creamers, or dairy-based syrups. You can even pre-mix flavored ice cubes for more intensity.
3.3 Keep it cold and consistent
Your prep won’t matter if the coffee gets watered down or weirdly bitter.
Tips:
- Use coffee ice cubes to keep it bold
- Chill your jars before adding ingredients
- Don’t store with ice—add that right before drinking
Every detail matters when it comes to flavor consistency.
4. Benefits of iced coffee meal prep
4.1 Better control over ingredients
When you meal prep iced coffee, you control every drop.
- Adjust sugar levels
- Choose the milk or creamer you love
- Avoid preservatives and artificial flavors
This is especially helpful for people tracking macros or managing dietary needs.
4.2 Supports a healthier lifestyle
Meal-prepping coffee might seem like a small change—but it has a big impact.
- Reduces drive-thru caffeine habits
- Prevents over-caffeination with controlled portions
- Lets you pair it with healthy breakfast snacks
You’re setting a tone of mindfulness and balance each day.
4.3 Environmentally friendly
Cut down on disposable cups, plastic lids, and straws.
- Use glass or stainless steel jars
- Pair with a silicone or bamboo straw
- Wash and reuse for minimal waste
Sustainable sipping, without sacrificing your cold brew cravings.
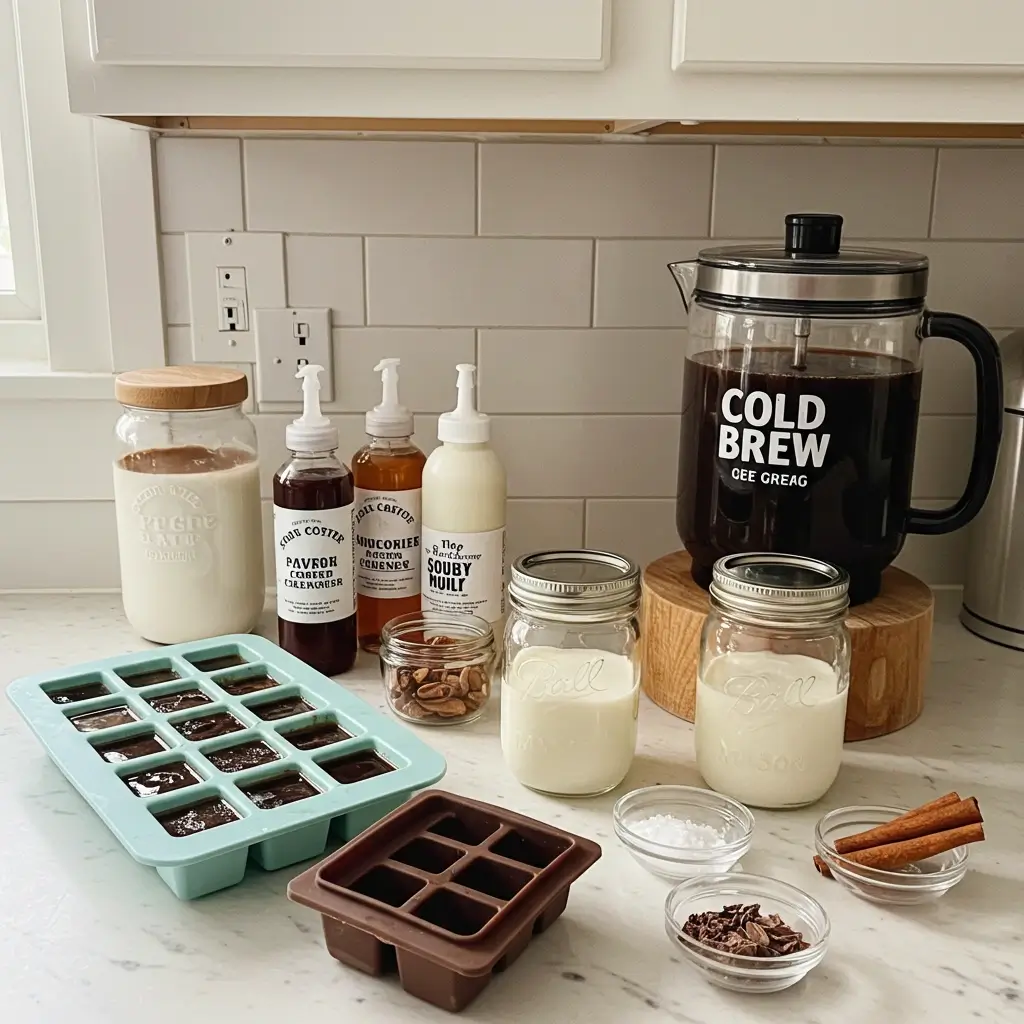
5. Creative iced coffee meal prep hacks
5.1 Try cold brew concentrate cubes
Freeze your concentrate into ice cube trays for fast prep:
- Pop 3–4 cubes into a glass
- Add milk or water
- Stir and enjoy in under a minute
It’s perfect for rushed mornings or road trips.
5.2 Pre-flavor your milk or creamer
Mix up your own signature swirl ahead of time:
- Blend almond milk + maple + sea salt
- Use half-and-half + vanilla bean + brown sugar
- Store in mini bottles for quick mixing
This elevates your flavor without needing syrups each time.
5.3 Use a French press for fast straining
If you don’t want to mess with cheesecloth or sieves:
- Steep the grounds directly in a French press
- After 12–18 hours, push the plunger down
- Pour out clean, strained cold brew instantly
Easy cleanup. High convenience. Full flavor.
CONCLUSION:
Meal prepping iced coffee isn’t just smart—it’s deliciously efficient. With just five minutes and a handful of ingredients, you can create three days’ worth of café-quality cold brew right from your kitchen. You’ll save time, money, and stress, all while enjoying better flavor and total control over every sip. Whether you like it creamy, bold, sweet, or spiced—this meal prep method keeps your iced coffee game strong and simple.